If you want to know how to improve handwriting for kids, the short answer is to fix the basics first (a comfortable grip, good posture, the right line size), then practice correct letter shapes for a few minutes every day, tracing before copying. Neat handwriting comes from forming each letter the same way every time, not from writing more.
Most messy handwriting has a few clear causes: letters started in the wrong place, letters that float above the line, uneven spacing, or a grip that tires the hand. Each has a simple fix.
How to improve handwriting for kids: 10 tips
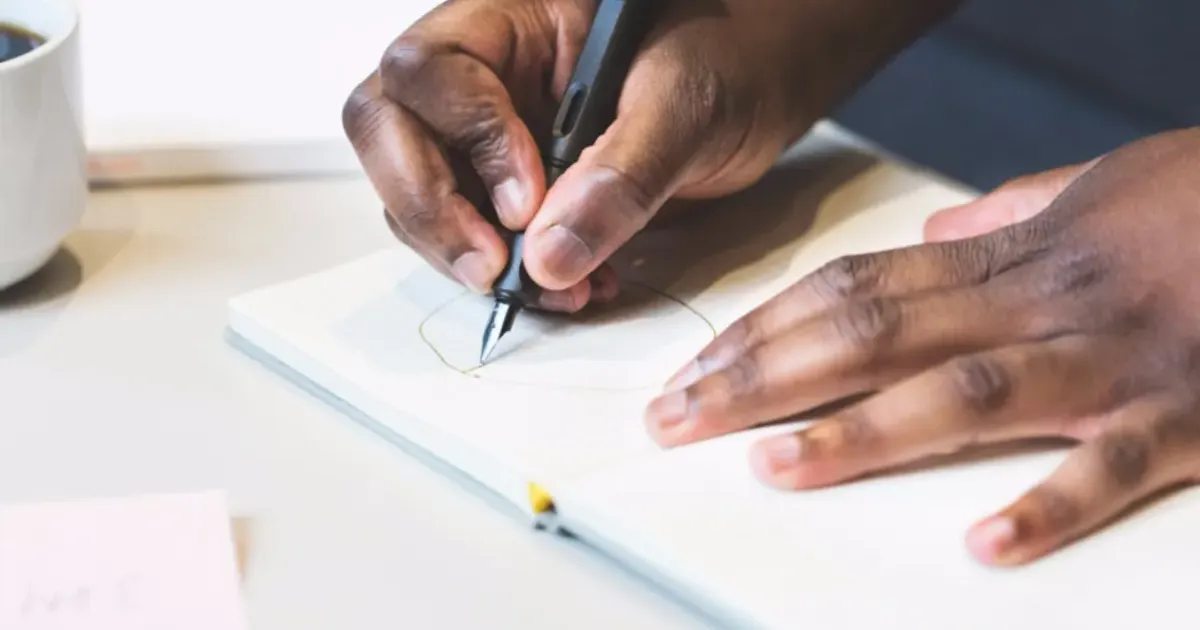
1. Check the grip. A relaxed grip, with the pencil held between the thumb and first finger and resting on the middle finger, is the one most often taught. A child who grips hard or holds the pencil in a fist tires quickly. Short pencils and chunky triangular pencils can help small hands hold the pencil correctly.
2. Sit well. Feet flat on the floor, back against the chair, the table at about elbow height. The free hand holds the paper still. Tilting the paper slightly, to the left for right-handers and to the right for left-handers, often makes writing more comfortable.

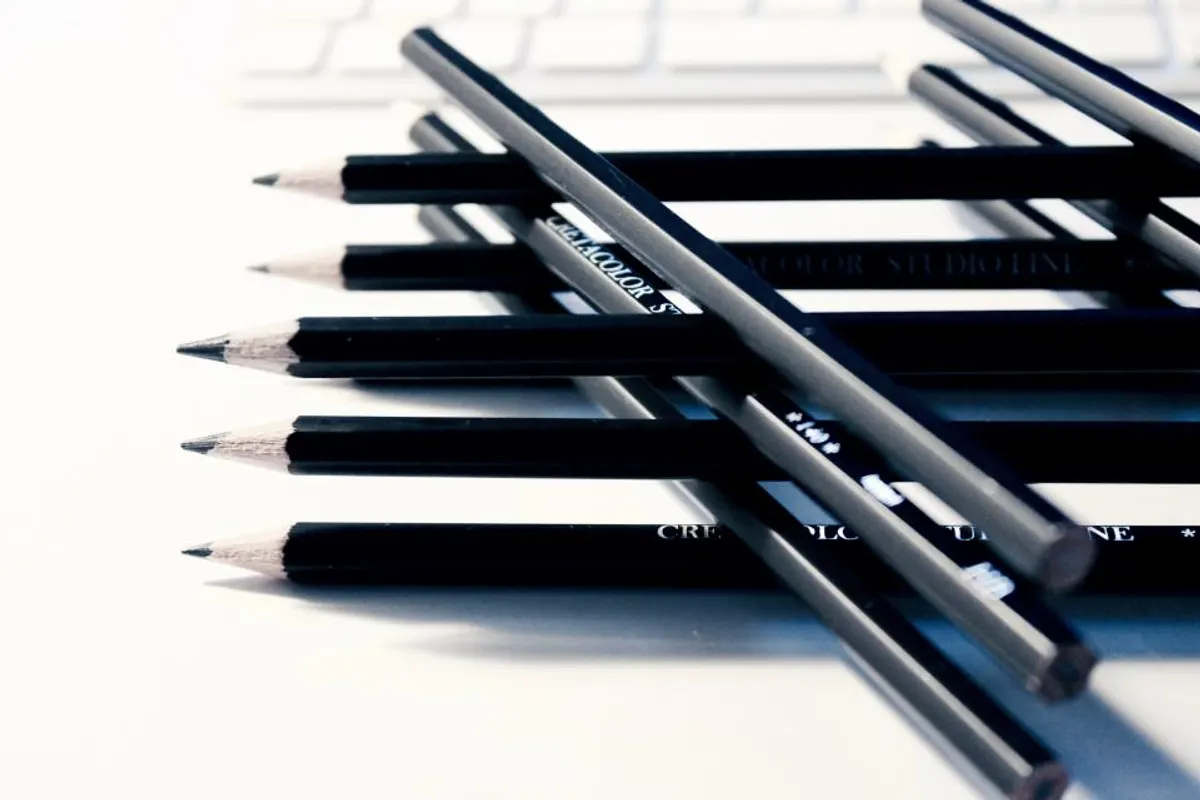
3. Start every letter in the right place. Most lowercase letters start at the top. A letter started at the bottom and pushed upward tends to come out wobbly, and the habit gets harder to change later. Watch your child write a few letters and check where the pencil starts.
4. Practice letters in families. Letters that share a movement are easier to learn together. A common grouping:
| Family | Letters | Shared movement |
|---|---|---|
| Long ladder | l, i, t, j, u, y | Straight down |
| Curly caterpillar | c, a, d, o, g, q, e, s, f | Round anticlockwise from the top |
| One-armed robot | r, n, m, h, b, k, p | Down, back up and over |
| Zigzag monster | z, v, w, x | Diagonal lines |
Which letters to teach first explains the order behind these families.
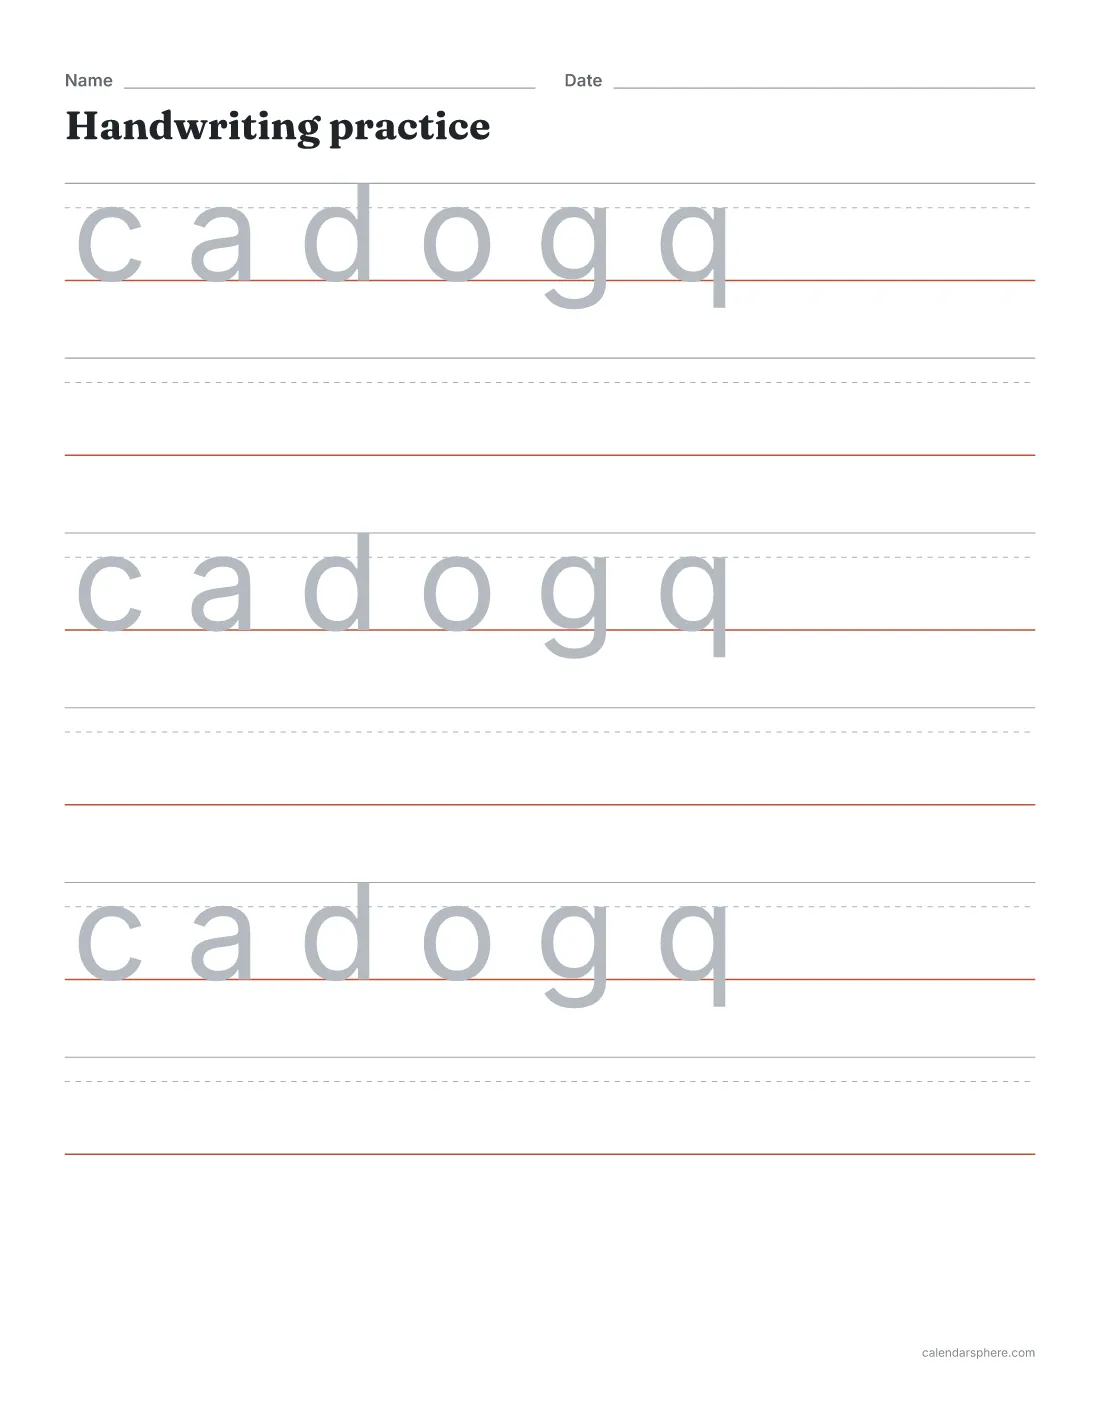
5. Use lines that show letter height. Writing lines with a top line, a dashed middle line and a baseline show exactly how tall each letter should be: capitals and tall letters reach the top, small letters reach the dashed line, and tails on g, j, p, q and y drop below the baseline.
6. Sit letters on the line. Floating letters are one of the most common reasons writing looks untidy. Ask your child to check each word: are all the letters touching the baseline?
7. Leave a finger space. Children can put a finger after each word before starting the next. It is an old trick because it works: even spacing makes writing far easier to read.
8. Trace, then copy, then write alone. Tracing a faded model teaches the shape and stroke direction. Copying from a dark model checks the child can do it without the guide. Writing from memory is the final step.
9. Keep it short. Five to ten minutes of careful writing beats half an hour of tired scribbling. Stop while the writing still looks good.
10. Praise the specific thing. “Your a and d both start at the top now” tells your child exactly what to keep doing. Pick one letter or habit to work on at a time.
Handwriting practice ideas by age
- Ages 3 to 4: big movements first. Drawing lines, circles and zigzags in sand, paint or chalk builds control before letters.
- Ages 4 to 6: their own name, then letters in families on large lines. Trace every row, then trace and write.
- Ages 6 to 7: short words and sentences on medium lines, with a model to copy. Focus on sitting letters on the line and even spacing.
- Ages 7 and up: spelling words and longer sentences on smaller lines, then on ordinary lined paper. Many schools introduce joined handwriting around this age; follow your child’s school.

Make practice meaningful
Children practice more willingly when the words mean something to them. Use their name, a friend’s name, the family pet, this week’s spelling words, a line from a favourite book, or a shopping list. A birthday card or a note to a grandparent is real handwriting practice with a reason to be neat.
Handwriting time can sit alongside other short daily practice. Many families pair it with a quick math fact fluency drill, five minutes of each, at the same time every day.

Moving on to lined paper
Once your child forms letters correctly at medium size, try ordinary lined paper. Wide ruling, with lines about 11/32 inch (8.7 mm) apart, is usually the first step from handwriting sheets. Wide ruled vs college ruled compares the rulings, and the lined paper maker prints wide, college or narrow ruling on Letter or A4.

Print handwriting practice sheets
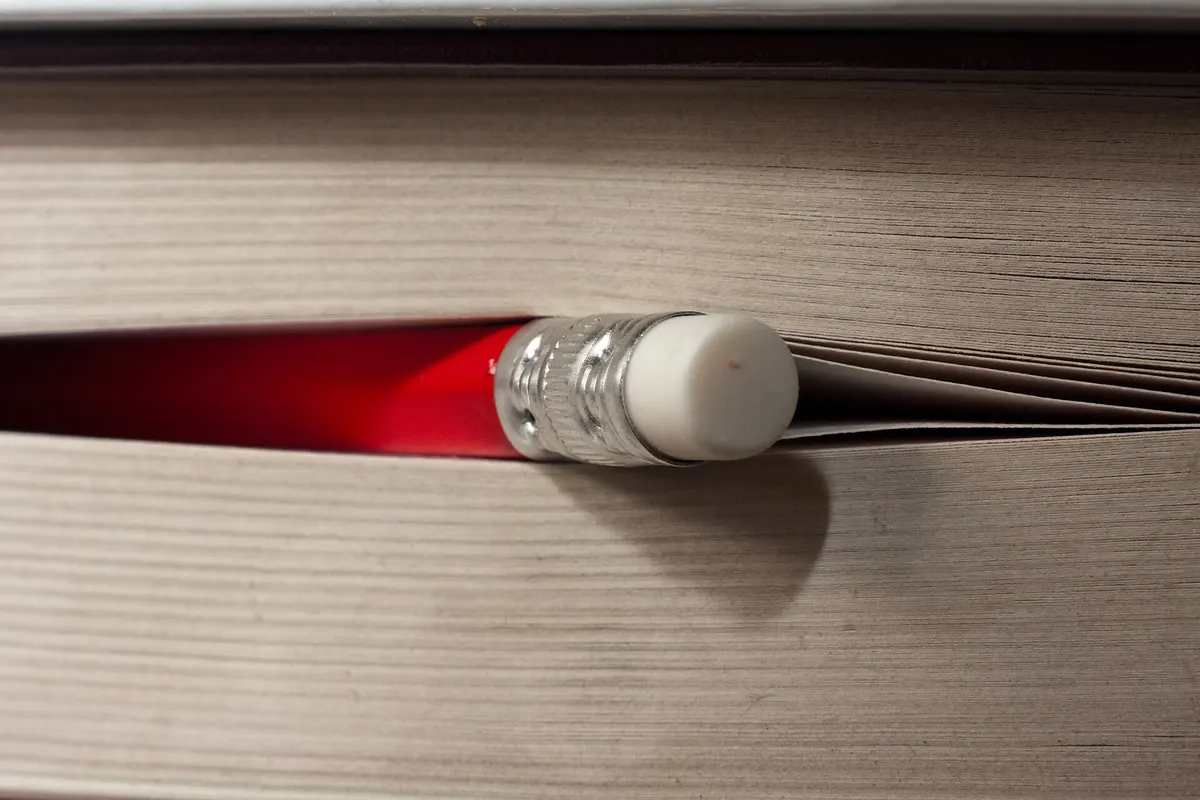
The handwriting practice maker prints your own words on writing lines with a colored baseline and a dashed middle line. Choose large (¾ in, 19 mm), medium (½ in, 12.7 mm) or small (⅜ in, 9.5 mm) lines, and one of three modes: Trace, with faded letters on every row; Trace, write, with a blank row after each traced one; or Copy, with dark letters and a blank row underneath. Type a name, a word list or a sentence, turn on “Repeat to fill the page” for a full sheet, and print.
Frequently asked questions
How long should handwriting practice take each day?
Five to ten minutes is enough for most primary-age children. A short, focused session every day helps more than a long one once a week, and it stops tired hands getting sloppy.
Should children trace letters or copy them?
Both, in that order. Tracing shows the shape and the direction of each stroke; copying from a model then checks the child can form the letter without the guide.
What size lines should my child write on?
Children just starting to write usually do best on large lines, about ¾ inch (19 mm) tall. As letters get smaller and steadier, move to ½ inch and then to ordinary wide-ruled paper.
Why are some of my child’s letters backwards?
Reversing letters such as b and d is common while children are learning to write. Practicing each letter from the right starting point, with a clear model, usually sorts it out with time.
My child’s handwriting is still very hard to read. Should I worry?
Handwriting develops at different rates. If it is a lasting concern, or writing seems painful or very tiring, talk to your child’s teacher, who can suggest next steps.
Does handwriting practice need special paper?
Paper with a top line, a dashed middle line and a baseline helps most while children learn letter heights. Older children can practice on plain lined paper.