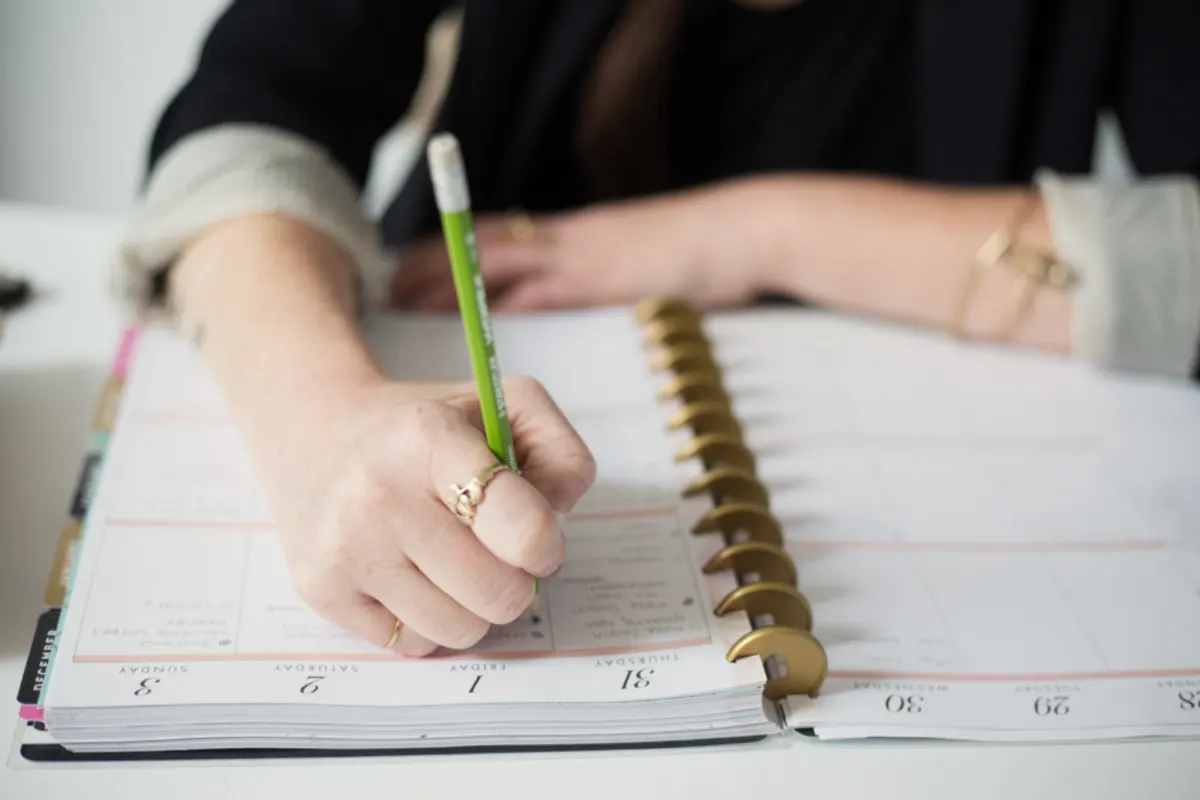
A good disc-bound planner setup comes down to four things: inserts that match your planner’s page size, printing them at actual size, a clean trim and punch along the wide left margin, and a short list of sections you actually use. Because pages on discs peel off and press back on, you can start simple and rearrange as you go.
This guide walks through sizes, printing, cutting and punching, and a sample layout for a first planner.
Disc-bound planner setup, step by step
1. Measure your planner’s pages
Take an existing page out and measure it edge to edge. Don’t measure the cover, which is larger than the pages. The common sizes are:
| Size | Inches | Millimetres |
|---|---|---|
| US Letter | 8.5 in × 11 in | 216 mm × 279 mm |
| A4 | 8.27 in × 11.69 in | 210 mm × 297 mm |
| A5 insert | 5.83 in × 8.27 in | 148 mm × 210 mm |
| Happy Planner Classic insert | 7 in × 9.25 in | 178 mm × 235 mm |
| Personal insert | 3.75 in × 6.75 in | 95 mm × 171 mm |
The Happy Planner Classic size (7 × 9¼ in) is a popular disc-bound size; A5 is used by many disc and ring planners; Personal (3¾ × 6¾ in) is a smaller size mostly found in ring binders.
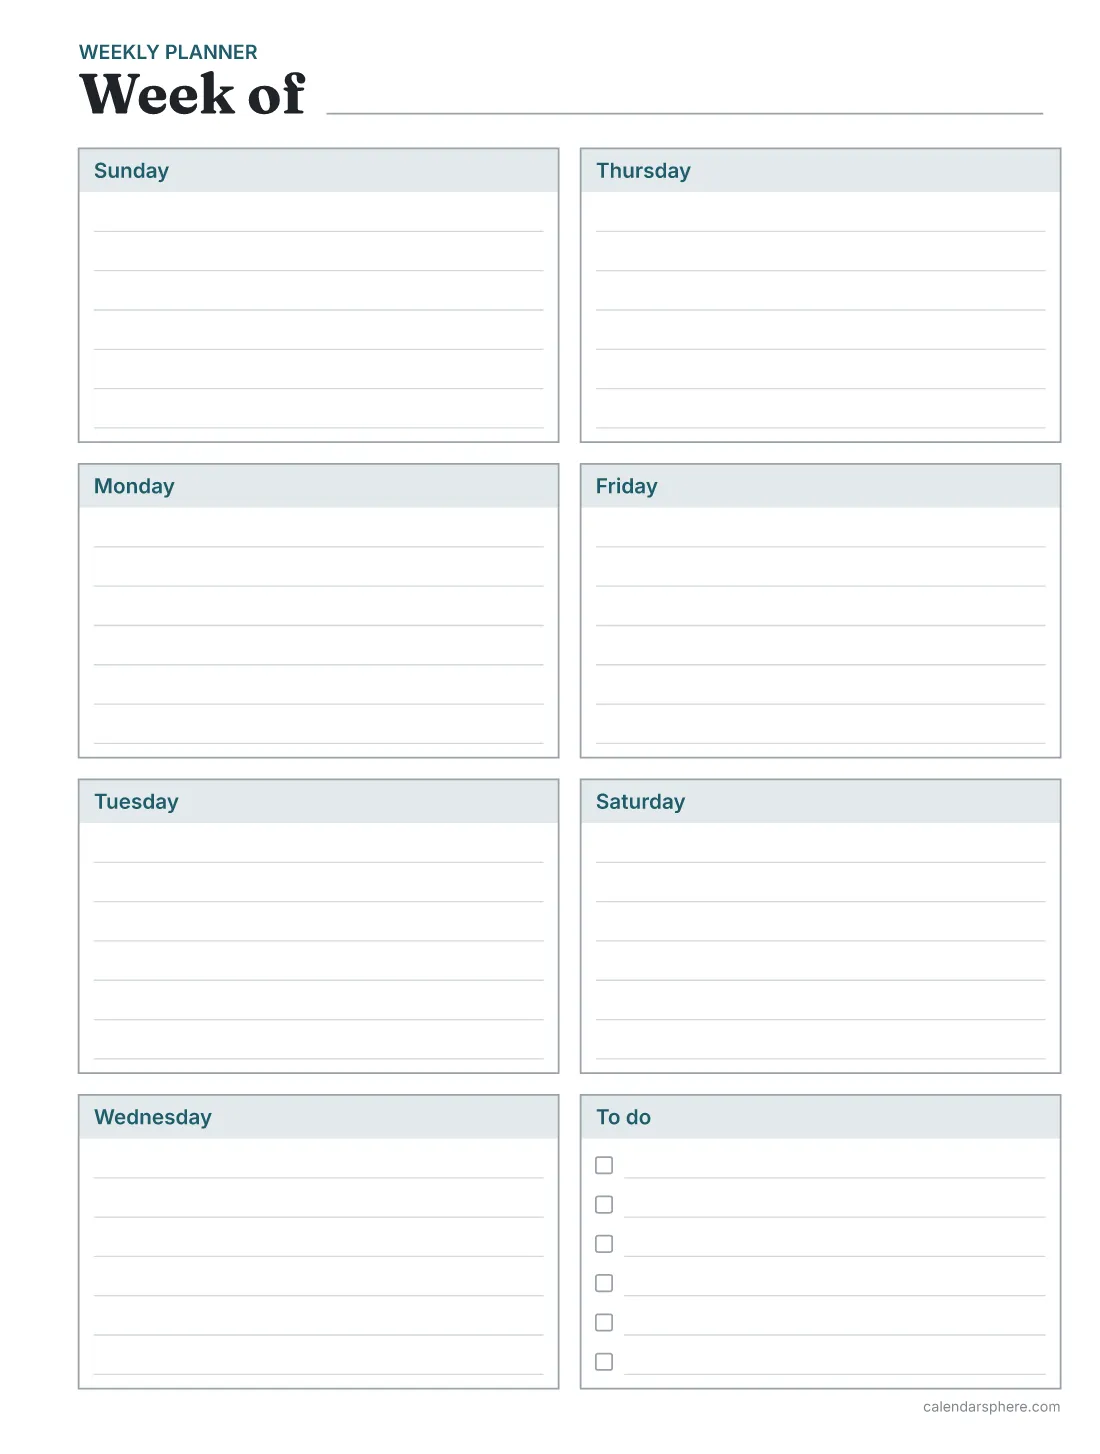
2. Decide which pages you need
Before printing a stack of inserts, decide how you’ll use the planner day to day. A simple, useful starting set:
- A week on a page (or a page per day if your days are busy with appointments)
- A to-do list for tasks that don’t belong to a single day
- A monthly habit tracker if you’re building a routine
- A monthly budget if you track spending on paper
- A meal plan with a shopping list, if you plan food weekly
The planner insert maker prints all six planners (weekly, daily, meal, habit tracker, budget and to-do list) at A5 and Happy Planner Classic sizes. Personal size covers the weekly, daily, meal and to-do pages; a month of habits or a budget needs more width than that page has.
3. Print at actual size
This is where most home-printed inserts go wrong. In the print dialog, choose “Actual size” or 100%, never “Fit to page” or “Shrink oversized pages”. Fitting scales the page down a few percent, and the insert ends up smaller than your planner.
Insert pages can be printed two ways:
- On Letter or A4 with cut marks. Works on any home printer. A5 and Happy Planner Classic inserts print one per sheet; Personal inserts print two per sheet.
- On paper of the insert size. If your printer takes A5 or custom sizes, each page comes out ready to punch.
If you print A5 pages on larger paper often, how to print A5 on A4 covers the printer settings in more detail.
4. Cut along the marks
Each insert has short marks just outside its corners. Line them up on a paper trimmer and cut one edge at a time; a trimmer gives straighter edges than scissors, which matters when pages stack. Cut a few sheets at once only if your trimmer handles them cleanly.
5. Punch the left edge
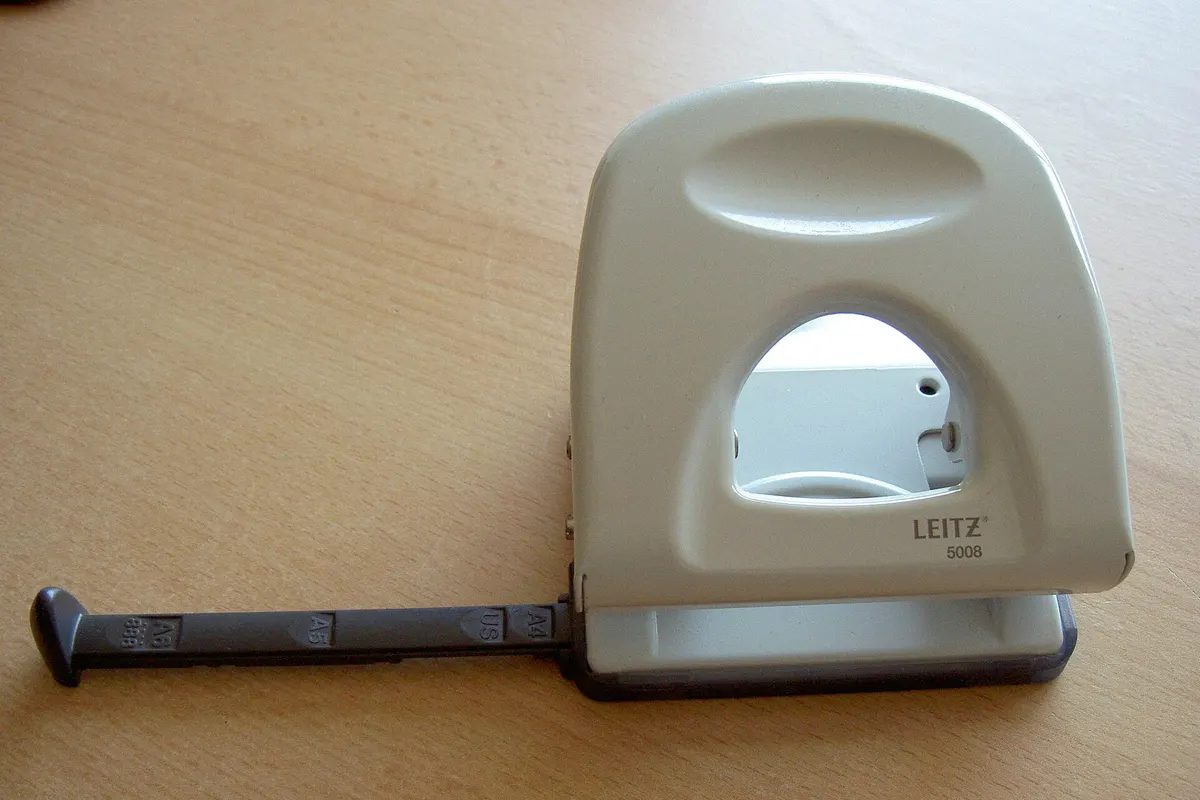
Disc-bound pages use a mushroom-shaped hole that clips onto the discs, so you need a punch made for disc systems. Line up the left edge of the insert with the punch guide and punch along the wider margin. The inserts keep 0.5 in (12.7 mm) clear on the left for this, against 0.25 in on the other sides, so the holes don’t cut into your writing.
Punch a test page first and check it against a page already in your planner before punching the stack.
6. Arrange your sections
Order the pages the way you’ll reach for them. Tabbed dividers help once you have more than three sections.
A sample disc-bound planner layout
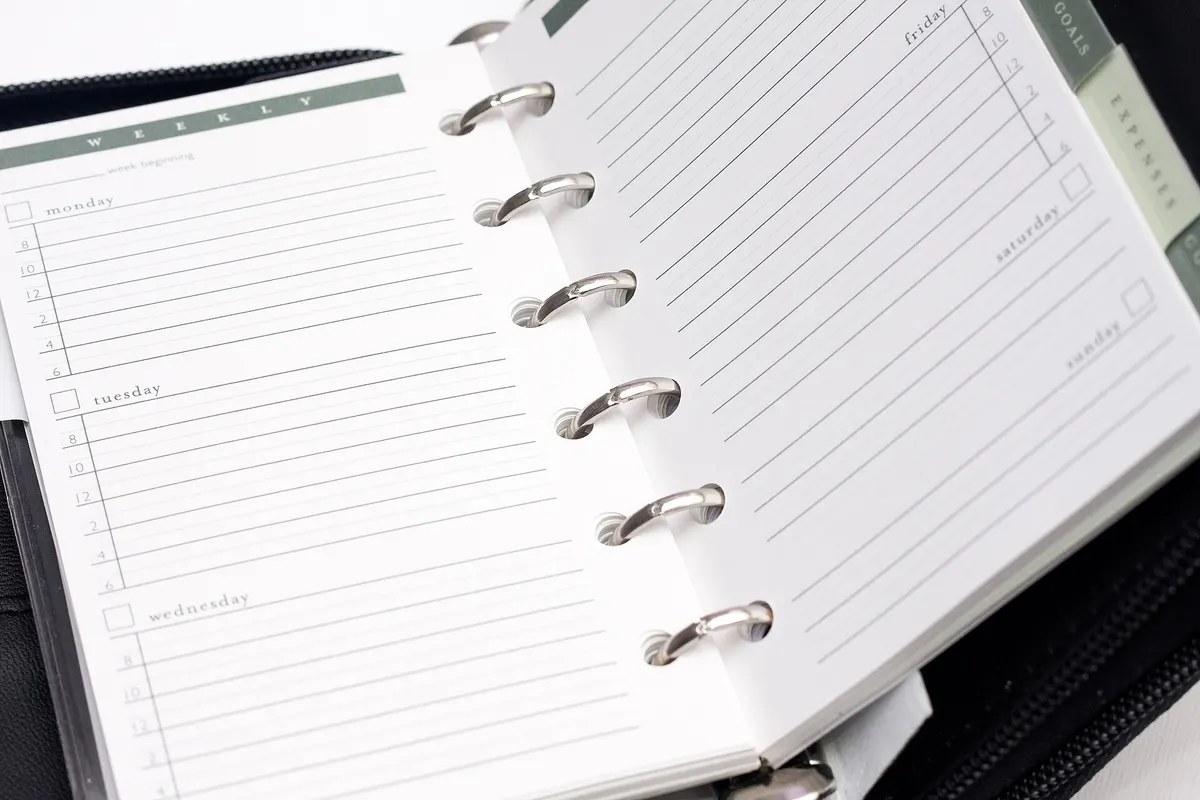
A practical setup for a first month:
| Section | Pages | Printed as |
|---|---|---|
| This month | Habit tracker and budget for the month | Dated, one each |
| Weeks | Four or five weeks on a page | Dated weekly pages |
| Lists | A few to-do lists | Blank copies |
| Meals | Four weekly meal plans | Blank copies |
| Notes | Lined or dot grid pages | Blank |
At the end of the month, take out the used pages, file or recycle them, and press in the next month’s set. The planner never gets thicker than you need.
Tips for a planner you’ll keep using
- Print a month at a time. Printing a whole year up front is tempting, but you’ll want to change the layout after a few weeks.
- Use dated pages for weeks and months. Writing dates by hand is the chore that makes people stop. The insert maker can print dated weekly pages with the week number, or dated months for the habit tracker and budget.
- Keep one page for this week’s priorities. Plan the week in one sitting; how to plan your week has a 30-minute routine.
- Mix in free-form pages. Dot grid or lined pages trimmed to size are good for notes, lists and collections. If you like a freer system, bullet journal for beginners explains the basics, and dot grid paper suits it well.
- Choose a heavier paper if your printer allows. Pages that are turned and moved often last longer on thicker stock.
Common setup mistakes
- Printing with “Fit to page” on. The insert comes out slightly small and won’t line up with your other pages.
- Measuring the cover instead of the pages.
- Punching the wrong edge. Check which side the wide margin is on before you punch; it’s always the left.
- Too many sections at once. Start with two or three and add more when you miss them.
Print your inserts
Open the planner insert maker, pick your size and the planner you want, choose blank or dated pages, and print on Letter or A4 with cut marks. For a full-page version of the same week, the weekly planner prints on Letter or A4 without cutting.
Frequently asked questions
What size inserts does a disc-bound planner take?
It depends on the planner. Common sizes include A5 (148 × 210 mm) and Happy Planner Classic (7 × 9¼ in); measure a page you already have, edge to edge, and match it.
Can I print disc-bound planner inserts at home?
Yes. Print the inserts on Letter or A4 at “Actual size”, cut along the corner marks with a paper trimmer, then punch the left edge with a disc-bound punch.
Do I need a special punch for a disc-bound planner?
Yes. Disc-bound pages use a mushroom-shaped hole that grips the discs, so an ordinary hole punch won’t work. Use a punch made for your disc system.
Why do planner inserts have a wider left margin?
The holes take up space along the binding edge. CalendarSphere inserts keep 0.5 in (12.7 mm) clear on the left and 0.25 in on the other sides, so nothing you write is punched through.
What sections should a disc-bound planner have?
Start with the pages you’ll use weekly: a weekly or daily planner, a to-do list, and perhaps a habit tracker or budget page each month. Add more sections only once these are part of your routine.
How do I add or move pages in a disc-bound planner?
Peel a page off the discs from the edge, starting at the top or bottom, and press it back on where you want it. That’s the main advantage of discs over fixed binding.